I've been all over the forums and have read many users threads that mention using a dremel to cut into their dash components and using body filler to smooth everything out and the end result usually always comes out looking virtually stock.
Since I've never attempted anything similar myself I've been putting it off.
Well, yesterday I came across a user on mp3car.com named Tom_rosenback whom inspired me to start cutting into my radio bezel.
In his thread you can see where he had cut out the shape of his monitor into the bezel and was able to fill everything, sand, and paint. In my eyes, the end result is pretty amazing and I love the complete stock look of it.
With that in mind, as soon as I got off of work last night, I pulled out my old monitor set up out and started tracing. Originally I wanted to know a guestimate of what the bevel on the monitor case would look like and how much room it would take up. The following is a picture of the tracings.
In order to trace everything I had to put them face down, so this image is flipped horizontally. You can see the open space for the ashtray on the left hand side. Also the screen is smaller than the opening of the stock bezel which is the middle square drawn it. Therefore I will need to use the monitor case to keep the stock beveled look.
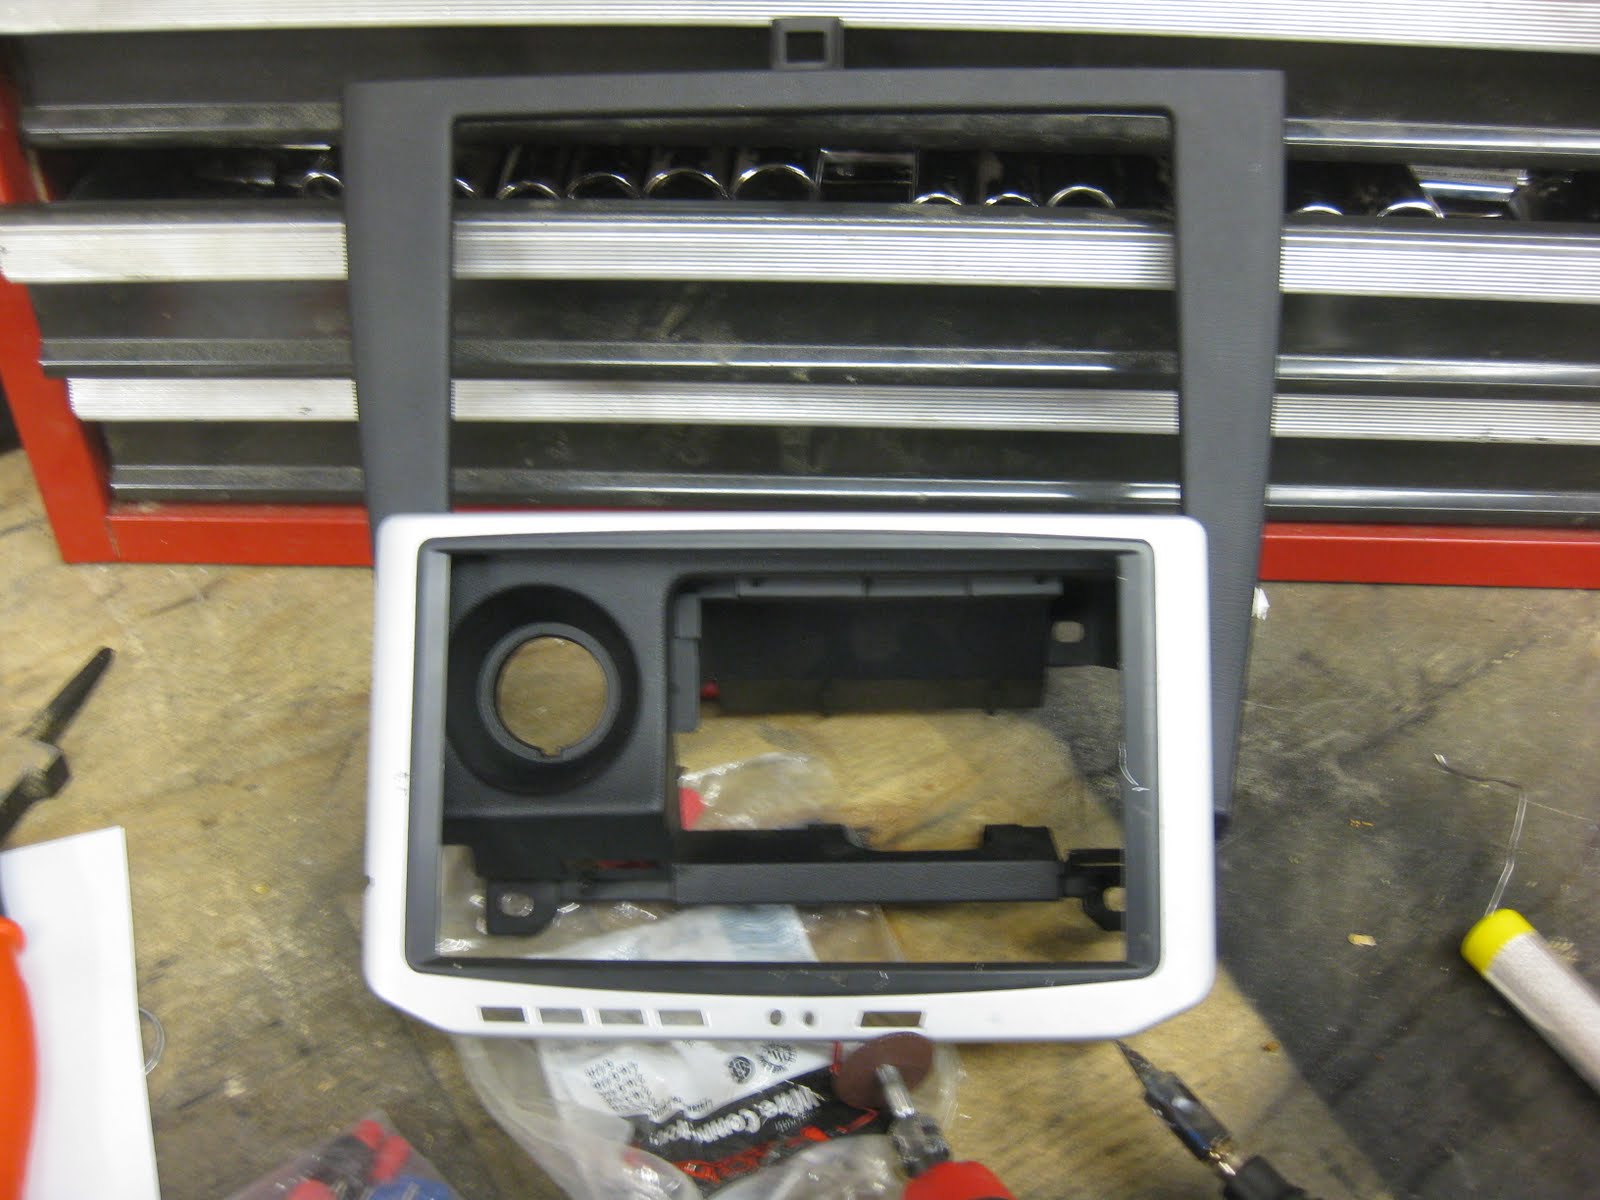
The following should give you an idea as to how the screen fits in with the case and stereo bezel.
Stock stereo bezel
And a picture with the monitor case
This is my first time using a dremel so I started out slow and only took a little bit off at a time. After about an hour of work i was able to get the front piece of the monitor case to fit around the stock screw holes for the bezel. My goal is to keep all stock mounting and bolting points working so when it came time to install, there was no special fabrication I would need to do.
Also, I was ble to keep all the original screw points in the screen cover so when I put the screen and circuit board back in, everything would bolt up normally.
A picture from the front.
I found that while everything fit pretty well, I was left with a pretty decent drop off from the front of the bezel to the front of the screen cover. After viewing Tom_rosenback's thread again I realized that if I wanted a stock appearance, I would need to cut more out and make everything fit at the same depth.
I started by cutting off the top piece. The cover was at the perfect height to match up with the top of the bezel.
With more cutting on the sides and some sanding on the bottom I was finally able to get the screen to fit in smoothly and match up with everything.
One regret is at the top of the screen cover, I had cut in two slits to clear the top of the bezel. Now they won't be needed anymore and I'll have to add some filler in there.
I added the back cover to the screen case and tested the fitment of everything.
I figured it looked good on the bench but I needed to see it in the car to see how everything lined up.
Passed my initial inspection. :)
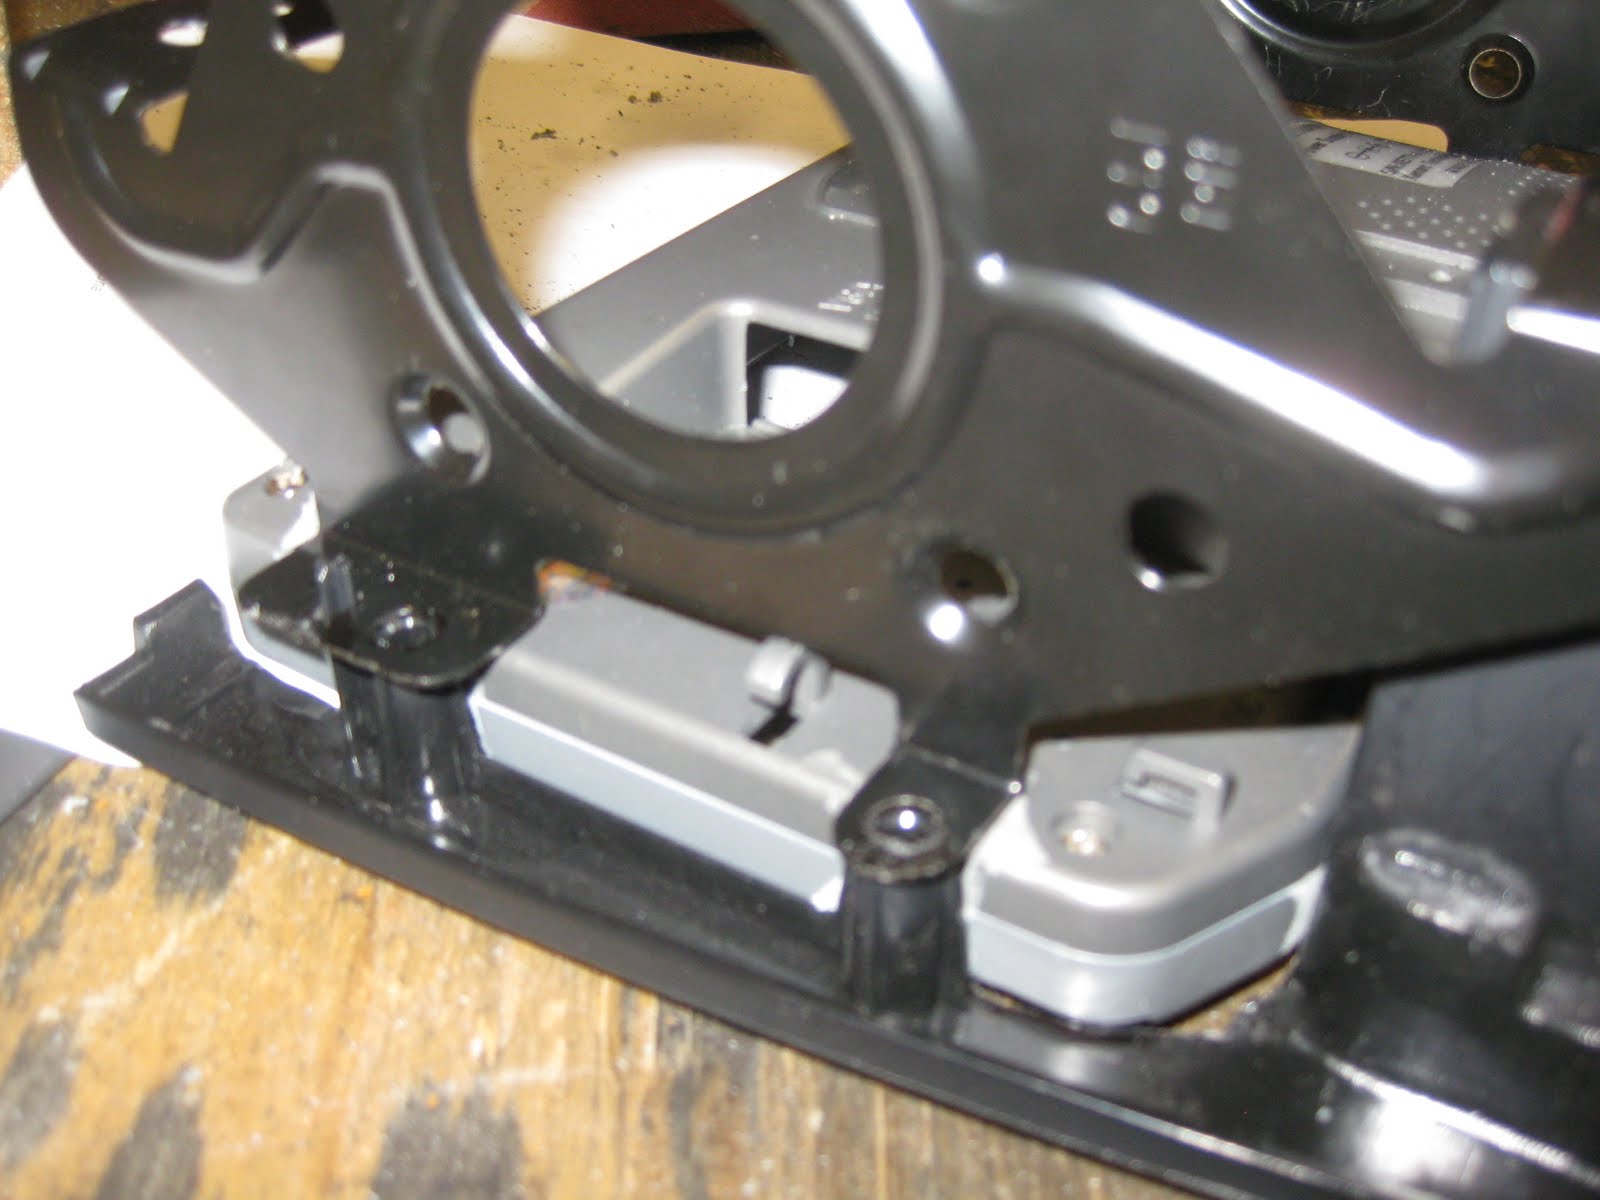
It was time to add the mounting hardware that secures the radio bezel into the dash.
I had to fire up the dremel again and remove some sections from the back cover but all in all, it was a great fit. The following two pictures shows the brackets fitting perfectly with the stock screw holes.
After test fitting everything I decided to throw the monitor in and make sure everything still fits. It was perfect. The only concern I noticed is that the power cables for the light that illuminates the lcd screen are exposed to the side. I will probably tape them in or cover them in hot glue to keep them protected and prevent any rubbing against the metal bracket.
Now that everything is fitted together and looks like it will work, i'll start on applying the filler and sanding and painting the unit. I should be able to complete that by the end of the weekend. :) I'll get another post up as soon as I can.


