Showing posts with label 240sx Carputer. Show all posts

Friday, February 10, 2012

Amplifier case for carputer

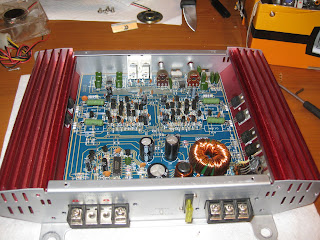
I've read some forums where people have been using amplifier cases for their computers as cheap cases. I decided to give it a try and see if I can do the same.

The sacraficed amp!

Zotac NM10 ITX A-E


Soo many screws :)


A few shots of the amp disassembly.


And it fits... sort of. The board is about 1cm wider than the original amp board so I am not able to mount it directly to the metal plate on the bottom like i wanted to, but I think it will still work. I put the board in upside down and tested the clearances and everything should be good. I'm going to do some more work on it this weekend to see if I can get it completed and ready to be bolted in under the drivers seat.

I have a small fan that I will try to mount to get some sort of circulation and will watch the temperatures when I first fire it up to make sure it's not going to overheat. Might even throw it in the oven at 100 degrees to test for those nice warm sunny days. Of course I would never drive my car without AC on those days, but when you first get in after a long day of baking in sunlight things can get pretty warm for a while.


Let the dremeling commence!

I've been all over the forums and have read many users threads that mention using a dremel to cut into their dash components and using body filler to smooth everything out and the end result usually always comes out looking virtually stock.
Since I've never attempted anything similar myself I've been putting it off.
Well, yesterday I came across a user on mp3car.com named Tom_rosenback whom inspired me to start cutting into my radio bezel.
In his thread you can see where he had cut out the shape of his monitor into the bezel and was able to fill everything, sand, and paint. In my eyes, the end result is pretty amazing and I love the complete stock look of it.
With that in mind, as soon as I got off of work last night, I pulled out my old monitor set up out and started tracing. Originally I wanted to know a guestimate of what the bevel on the monitor case would look like and how much room it would take up. The following is a picture of the tracings.

In order to trace everything I had to put them face down, so this image is flipped horizontally. You can see the open space for the ashtray on the left hand side. Also the screen is smaller than the opening of the stock bezel which is the middle square drawn it. Therefore I will need to use the monitor case to keep the stock beveled look.


The following should give you an idea as to how the screen fits in with the case and stereo bezel.


Stock stereo bezel

And a picture with the monitor case

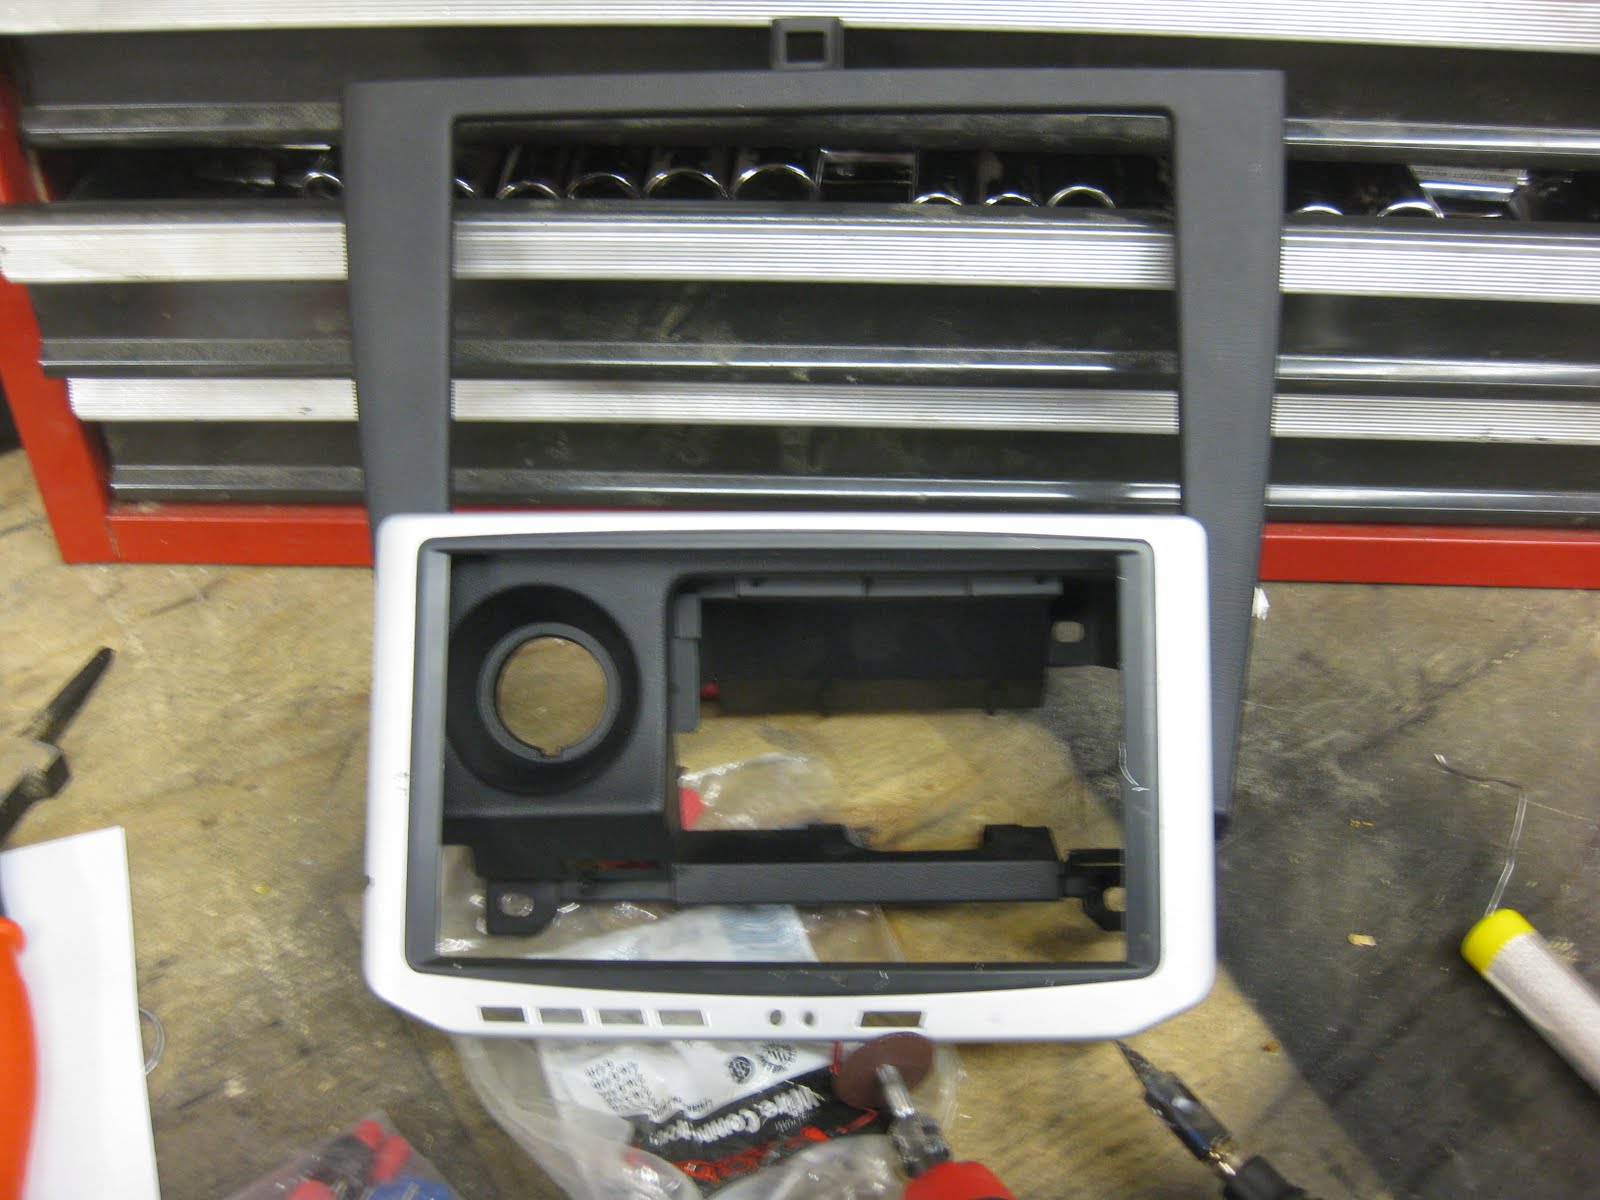
This is my first time using a dremel so I started out slow and only took a little bit off at a time. After about an hour of work i was able to get the front piece of the monitor case to fit around the stock screw holes for the bezel. My goal is to keep all stock mounting and bolting points working so when it came time to install, there was no special fabrication I would need to do.

Also, I was ble to keep all the original screw points in the screen cover so when I put the screen and circuit board back in, everything would bolt up normally.

A picture from the front.

I found that while everything fit pretty well, I was left with a pretty decent drop off from the front of the bezel to the front of the screen cover. After viewing Tom_rosenback's thread again I realized that if I wanted a stock appearance, I would need to cut more out and make everything fit at the same depth.

I started by cutting off the top piece. The cover was at the perfect height to match up with the top of the bezel.

With more cutting on the sides and some sanding on the bottom I was finally able to get the screen to fit in smoothly and match up with everything.
One regret is at the top of the screen cover, I had cut in two slits to clear the top of the bezel. Now they won't be needed anymore and I'll have to add some filler in there.


I added the back cover to the screen case and tested the fitment of everything.

I figured it looked good on the bench but I needed to see it in the car to see how everything lined up.

Passed my initial inspection. :)

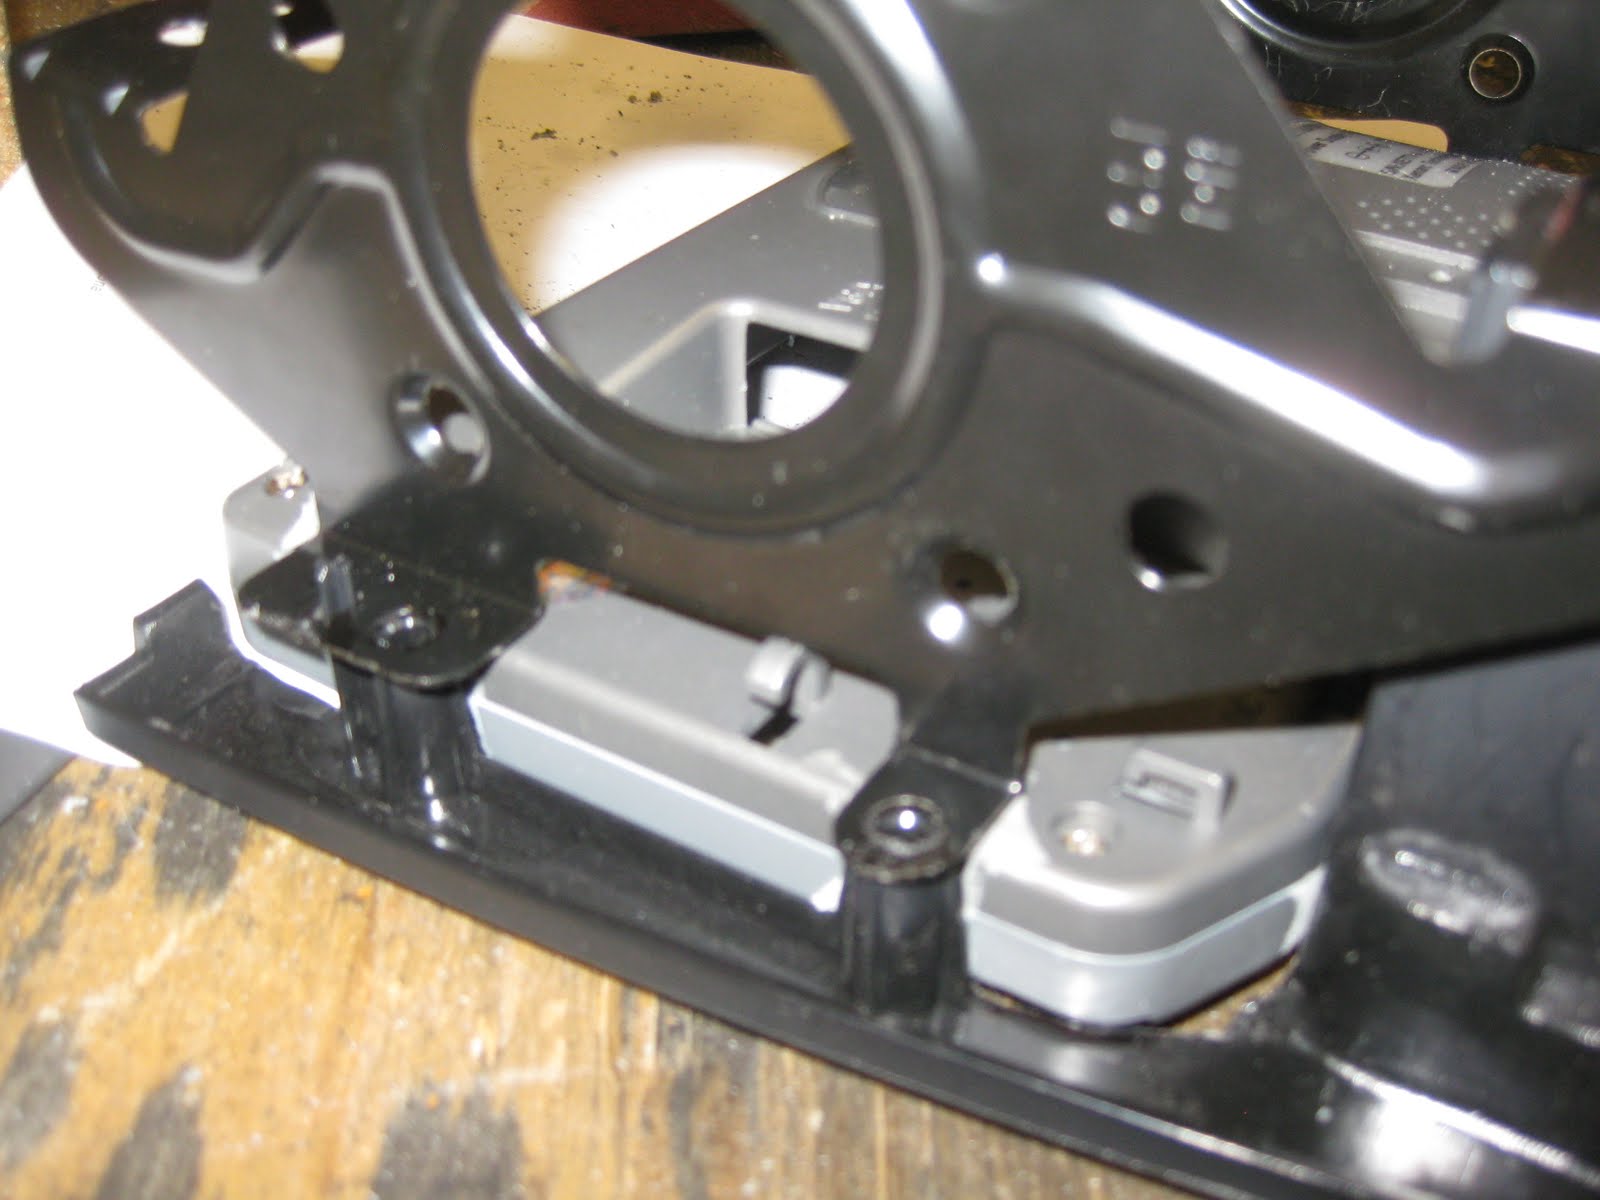
It was time to add the mounting hardware that secures the radio bezel into the dash.

I had to fire up the dremel again and remove some sections from the back cover but all in all, it was a great fit. The following two pictures shows the brackets fitting perfectly with the stock screw holes.


After test fitting everything I decided to throw the monitor in and make sure everything still fits. It was perfect. The only concern I noticed is that the power cables for the light that illuminates the lcd screen are exposed to the side. I will probably tape them in or cover them in hot glue to keep them protected and prevent any rubbing against the metal bracket.


Now that everything is fitted together and looks like it will work, i'll start on applying the filler and sanding and painting the unit. I should be able to complete that by the end of the weekend. :) I'll get another post up as soon as I can.

Thursday, January 26, 2012

Carputer troubles never end.

So... Finally got a nice temporary/hidden install set up for my carputer.

I put the power supply under my seat and the computer is right behind my seat. I am still able to position my seat how I like and for the most part, all the cables have been hidden.

Unfortunately I worked great for about two days and then fell into the an issue of just continuously rebooting. The screen turns on, the audio turns on, but after about five seconds the computer turns back off. Just to start the whole thing over again in 1 second.

I have set up an account with Zotac and will be attempting to get them to resolve the issue. The other idea I have is to pull a gig of memory out of my desktop and see if that changes anything.

According to one of the forums they found faulty memory causing the issue. I've tried removing the memory and firing up the system myself but that didn't resolve anything.

Oh well, I'll keep working on it and one day will have a fully functional, constantly working set up. :)

Side note. I tested and the computer will fit perfectly in a amp's enclosure I have. I'm currently using it to power the sub woofer in the living room or else I would have moved the board over. Once I get everything sorted out with Zotac, I plan to look into replacing the car sub I have hooked up to the living room stereo and then sacrificing the amp.

I'll post pics as soon as I have any progress.

Tuesday, May 3, 2011

Just got everything working...

And the Asus AT5NM10-i died.

I'm not sure what happened exactly. One moment it was powered on, I unplugged a usb device, and the next everything shut off.

Through extensive testing :), I found the problem to be in the motherboard. There is a capacitor that is reaching temperatures hot enough to almost burn my finger, and this is within a few seconds of the board receiving power.

At first I thought it was the mount I was using, as there is a rivit near where the capacitor is located, but I bolted everything back up and checked clearance, there is over two milimeters of clearance.

So, in light of recent malfunctions, I decided to go with a different motherboard.

I will still be returning this one to get it replaced, as I'm certian I will not be able to get a refund, "purchased last December", and will find another use for it.

And now on to better news.

Behold, The replacement!!


I'll get a write up soon for how this board performs and how the over all system works.

On a side note,

The bluetooth module came it today. I will have pics and info up soon.

Monday, May 2, 2011

Carputer Installed

Finally,

After waiting for what felt like eternity,

My Carputer is installed!.
I purchased the M4-ATX from Amazon on Friday, over-nighted it so I could get it Saturday, and then started the install Sunday morning.

At first I didn't think it was going to be that hard. I mean, honestly, how hard could it be to place a computer into a car? I expected the mounting of the monitor was going to be the most challenging thing but to my surprise, that was by far the easiest part.

I started by hacking apart an old mini ATX case and using the metal from that as mount points for the motherboard, power supply, and monitor.

Originally, i expected to put the computer in the trunk somewhere, and maybe one day it will find it's way there, but as of now, i didn't have the extension cables I needed to run the monitor, so it is now located in the Dash.

I prefer the Dash location, but I have a feeling that as soon as I get my radio cover, I'm going to find that I have a lot less room.

Either way, we'll see when the time comes.

So for now, the car computer is installed, and it plays internet radio "Pandora", and mp3's :-)
I have a couple more orders from amazon that I'm waiting on and will update once they arrive.

Also, I will write a full write-up once I get some time.

Monday, March 28, 2011

Intel Atom + 2Gb Ram + Touchscreen = Carputer


I finally did some work on the the Carputer setup this weekend. While I am not too happy about having to use Windows for my operating system, I am impressed with Centrafuse, the "front End" software that will be my interface in the car. At $80, the front end is reasonably priced, especially for all the features it includes. In addation to the stock features, you can download the SDK and start developing your own plugins and skins, customizing the look, feel, and overall function of the suite.


Current Hardware setup:

ASUS AT5NM10-I
Intel ATOM D510
2x 1Gb RAM PC2-6300
32Gb SATA SSD - Adata
Space Navigator
7" Touch Screen

Future Hardware:
GPS
Bluetooth
Soundcard
USB Hubs


Software setup:

Windows 7 Ultimate
Google Chrome
Centrafuse
PDANet for internet via Droid.


Centrafuse:


Centrafuse comes with built in support for many car/hands free operations. When it first launches, after a complete reboot, it takes a minute for it to load the plugins and of course there is that nice little warning prompt you have to get through. Once that is complete, about 5 seconds, your ready to start enjoying all the benefits it has to offer, Including...

GPS navigation
Audio playback with visualations,
Video playback
Web browsing.
Picture Browsing,
Graphic Equalizer
Weather
Pandora - (User generated plugin)

There are many more features, but I haven't had a chance to test all of them. Once I get the rest of the Hardware required, i'll post more information.

All in all, the system runs great, from pressing of power button to full boot, it takes 23 seconds. Standby takes 10 seconds to show screen and be usable but the music resumes playing after 1 second. Centrafuse was extremely responsive, with minor glitches on the visual effects here and there, not bad considering the graphics are embedded in the processor. The interface was more than touch friendly and looked great at 800/600. I toyed with the idea of running a higher resolution but realized at this point there is no need.

I hope to have everything in my car within a month. Of course this is also about the same time I expect to be pulling out the engine but that project should only take a few months. (keeps fingers crossed). Once I have some miles on the system i'll try to remember to post a complete write-up on the performance and usability of the system while driving. Next step will be to install a guardrail avoidance system. :-)